Rainy wednesday stemOn this very rainy Wednesday I got to thinking about the endless clouds in the sky and how they are formed. Clouds are formed when water vapor is warmed into liquid water droplets. These water droplets form on particles (think of something like dust) and they form the massive clouds that float above us every day!
Today we are going to repeat the cloud making process at home in a jar! To do this you will need the following materials… - Warm (but not boiling) water - A jar with a lid (a mason jar would be best) - Ice cubes - Aeresol Hairspray STEP ONE:
Now let's talk science! Read on to see how it works grow a rainbowChromatography is defined as the separation of a mixture by passing it in solution or suspension or as a vapor. This week we are going to use...
Capillary action is what causes the color to move through the paper towel and moves the molecules of the markers through the paper towel. Because the markers are alcohol based and not water based the color will not travel through the water. Happy Coloring! 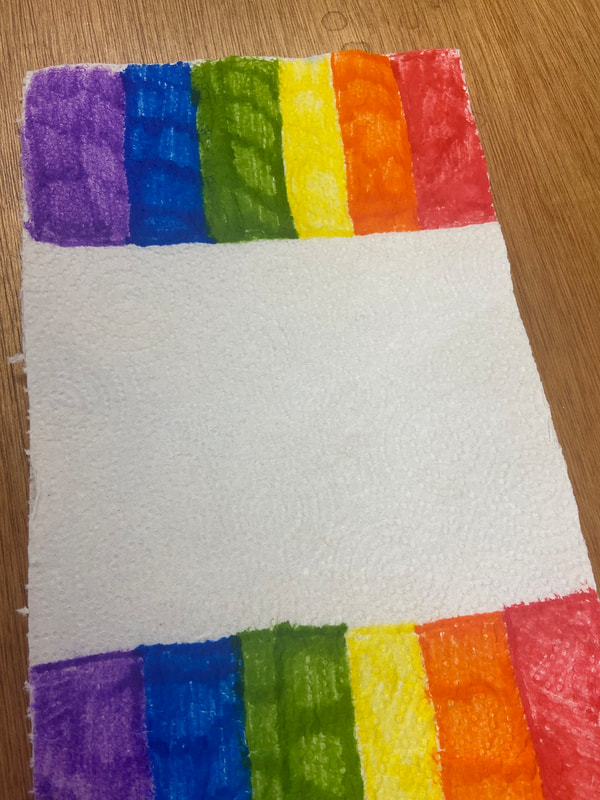 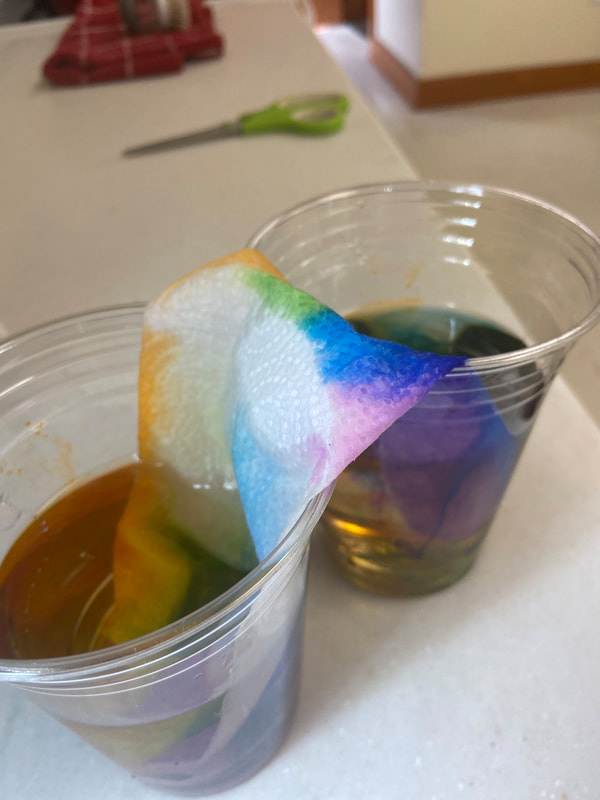 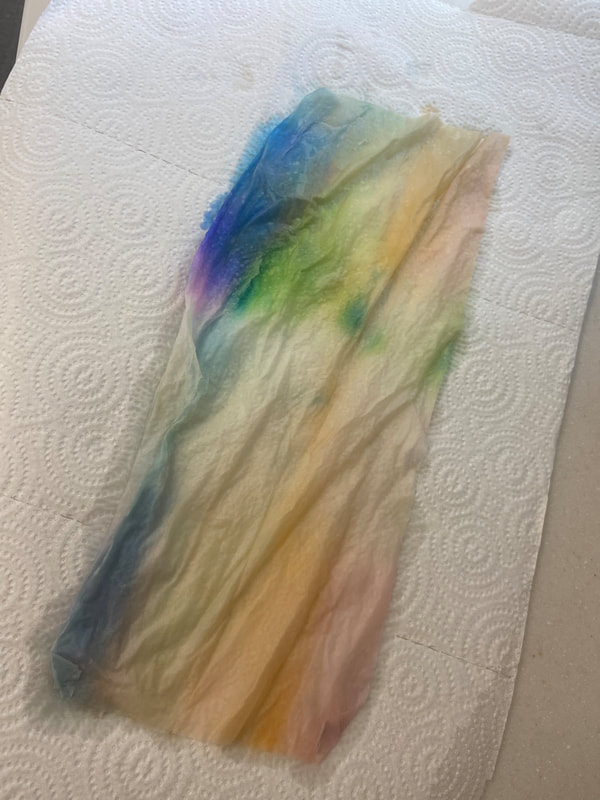 STEM WEEKEND: hydraulic liftSThis week we will be learning about the power of hydraulics! Hydraulics have been used in the Western New York area since 1882. Check out the Youtube video below and see how engineers used the power of Niagara Falls to light up millions of homes. You can even see hydraulics used in real time at our Kiddieland park! Our helicopter ride uses hydraulic lifts to get you off the ground and cruising the sky! In the late 1700s hydraulic power was engineered by British engineer Joseph Brama. Hydraulic systems use pressurized fluid to create power. Hydraulics are based off of Pascals principle which in short is that pressure exerted on a fluid is distributed equally throughout the fluid. This creates a mechanical energy which can create enough power to be able to move massive pieces of equipment.
To recreate this project at home it is totally possible you just need some materials... - Two syringes - Clear tubing/ piping - Water You can create your own hydraulic system by filling one syringe with water, connecting the piping to the tip of the syringe and then connecting a second syringe (not filled with water) to the other end. At home you can use this hydraulic system to do activities such as creating a hydraulic lift (kind of like a car jack) or you can even play with someone else and have a thumb war! Whose ever syringe is able to fully get rid of the water wins! We will be practicing with hydraulics in the children's gallery of the museum on Saturday, September 19th from 10am-3pm! We hope to see you there! Make a rubber eggThis project is an eggcellent one.Do you miss going to ride the bumper cars at kiddielands? Us too! We decided to make our own sort of bumper cars out of...eggs! Eggs are eggxactly the right household item that we can make squishy and fun. We will be making a typical egg (uncooked) into a raw bouncing ball. For this experiment you will need the following... - An egg - A glass - Vinegar (white vinegar preferred) - TIME All you have to do to complete this experiment is place an egg in a glass and fill it with enough vinegar to cover the egg. The egg then needs to sit in the vinegar for upwards of two days. Check on it each night and see how different it looks! Take note of the differences the longer it sits. How does it feel? How does it look? After a while the shell of the egg will disintegrate leaving the egg completely raw. It may even be larger than when you started because some of the vinegar will absorb into the membrane and enlarge the egg. After the egg has sat in the vinegar for long enough you will be able to actually bounce it on the ground HOWEVER, do not drop it from too high up because the egg does have limits and it will eventually break! Read on to learn more about the science behind this experiment! Also check out our photos to see how our experiment turned out. 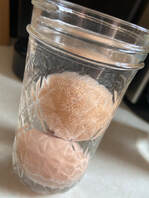 squishy stemWeek 8 is an electrifying one! We will be learning about the ins and outs of electric currents using Squishy Circuits! Squishy circuits is a fun and hands on way to create various types of circuits. Using conductive dough we will demonstrate different ways to operate an actual circuit. This is a difficult project to recreate at home but if you would like to you can read below on how to make your very conductive dough!
Check out the squishy circuits website to see how these circuits operate https://squishycircuits.com Happy STEMing! Conductive Dough Recipe: INGREDIENTS: 1 CUP WATER 1 1/2 CUPS FLOUR 1/4 CUP SALT 3 TBSP CREAM OF TARTAR 1 TBSP VEGETABLE OIL FOOD COLORING (OPTIONAL) INSTRUCTIONS
The longest chain challenge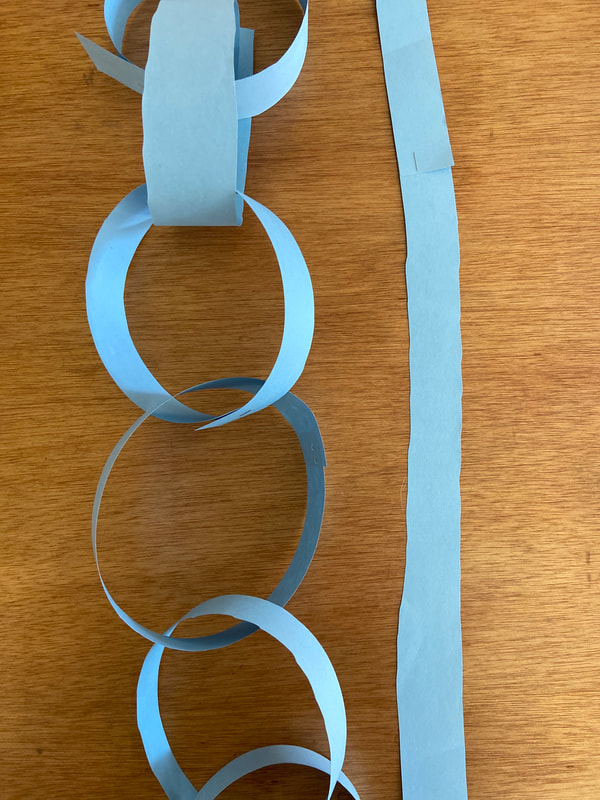 This week’s STEM activity is a LONG one. In length I mean, not time! This week is a challenge to see how long of a paper chain you are able to make out of a single piece of paper. While this sounds simple it is actually can be a bit harder than you expect. Challenge a sibling, a friend, a parent (or all of the above). You don’t even have to be in the same room as the other person just make sure they are using the same size piece of paper. If you measure each of your paper trails you can compare numbers virtually!
Here are the rules and regulations of this challenge:
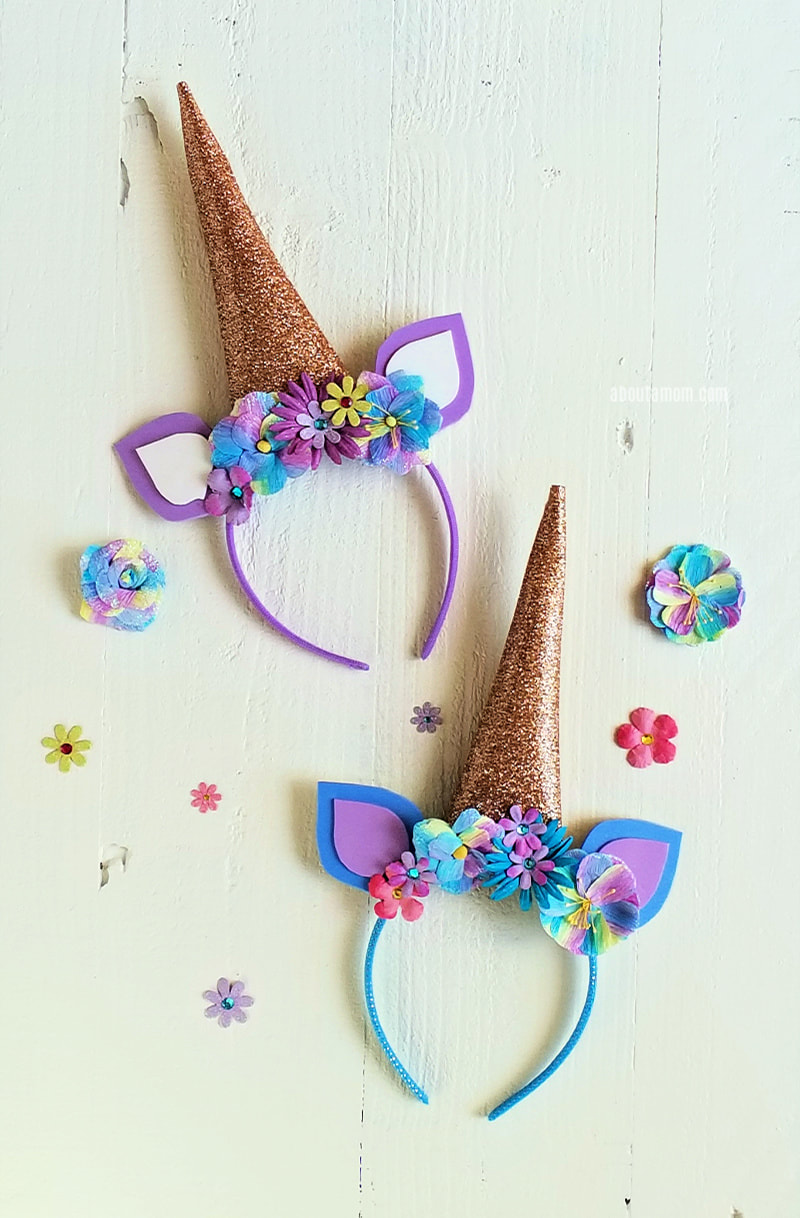
Uni the unicornThis month we are reading Uni the Unicorn by Amy Krouse Rosenthal and illustrated by Brigette Barrager. Below is the information on how to tune in to our story time (available on the museum Facebook page) as well as a D.I.Y craft to make your own Unicorn horn at home! We hope to see you there!
D.I.Y Robotic handTo ride our 1916 carrousel there are not many rules however you do have to hold on with two hands! So today we are going to be making our own robotic hands and our goal is to be able to hold onto a carousel pole! This craft is pretty simple to make and only requires a couple household items including... - Paper - A pencil - Scissors - A few plastic straws (cut into thirds) - Tape - String STEP ONE: Trace your hand on construction paper and cut it out. If you have really small hands you can just free hand! STEP TWO:Cut up approximately 5 straws into 3 pieces. These represent our knuckles so they should be representative of them in terms of size and flexibility. STEP THREE: Tape the straw pieces to the hand, probably about three pieces per finger and feed an individual piece of string through each “knuckle" (You will want to make sure there is a knot at one end so the string stays put) STEP FOUR:Try and make a loop at the end of each piece of string so it’s easier to pull each finger. By pulling on a single piece of string you should be able to see one finger move. 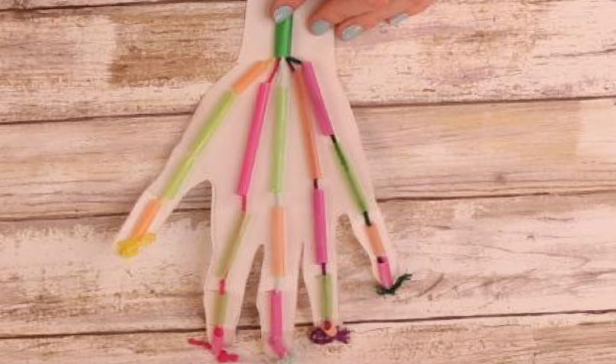 |
Carrousel Courier Jr.A publication just for kids! Check back each month for new activities! Archives
April 2024
Categories
All
|

 RSS Feed
|
180 Thompson St.
North Tonawanda, NY 14120 FOLLOW US
|
Upcoming Events
|
SHOP ONLINE
Shop our gift shop online for interesting gifts, memberships, and all your carrousel needs!
|


The Carousel Society of the Niagara Frontier is a not-for-profit 501-c-3 organization.