|
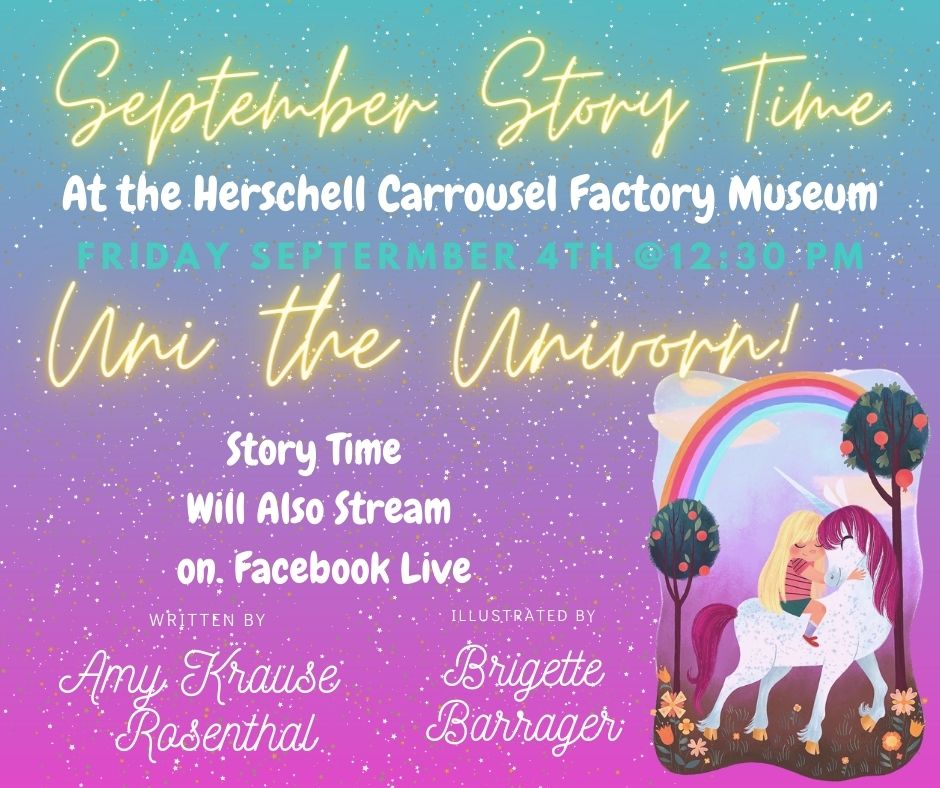
September is the time for new beginnings. Students are heading back to school (both remotely and in person) , the trees are starting to shed their leaves showing their first signs of fall and everything is made of apples and pumpkins again. This might just be my favorite time of the year (spoiler alert I love all the times of the year)! But to get the fall started off right lets read a story of acceptance, love and the power of imagination. This month we are reading Uni the Unicorn written by Amy Krouse Rosenthal and illustrated by Brigette Barrager. This is a beautiful story about a little girl who is mocked for her belief in unicorns and a similar story of a unicorn who is mocked for her belief in little girls. Uni the Unicorn is an uplifting story to remind people of all ages to never stop believing in their dreams. Story time will be held both in person at the Herschell Carrousel Factory Museum as well as via Facebook live! This months craft is a DIY Unicorn horn! Check down below for step by step instructions to make your own horn at home! Hope to see you all there! Xx Miss Lauren DIY Unicorn Horn Instructions
This craft is completely customizable. Unicorn horns have no limits in terms of creativity so make your horn completely your own! This is just how I put mine together. MATERIALS: 1. Paper Towel (or toilet paper) roll 2. Construction paper (felt, wrapping paper etc... will also work) 3. Hot glue (you can use a glue stick, tape, whatever you have handy) 4. Scissors 5. Anything you want to decorate with! Skys the limit. INSTRUCTIONS: 1. Cut your paper towel or toilet paper roll to your chosen horn length. This again is completely personal choice. 2. Wrap the roll in construction paper (picture A) by adding glue to one corner of the construction paper and continuously placing glue on the construction paper and rolling until the roll is no longer visible. 3. Once your roll is ready you will want to cut excess paper off the bottom trying to get the bottom as flat as possible. You will also want to leave some excess paper at the top however to make the point of your horn. 4. To make the tip of the horn make angular cuts on the signs so that they come to a point (if the cut isn't perfect that's OKAY! You can cover it with decorations) 5. Next step is to decorate however you like! I used things like pipe cleaners, markers, pom moms but you could incorporate other additions such as stickers, glitters or use markers to make your own doodles! 6. OPTIONAL LAST STEP: You can adhere your horn to a headband for easier wear or you can punch two small holes in opposite ends of the bottom of the horn and feed elastic string through. Comments are closed.
|
Carrousel Courier Jr.A publication just for kids! Check back each month for new activities! Archives
April 2024
Categories
All
|
|
180 Thompson St.
North Tonawanda, NY 14120 FOLLOW US
|
Upcoming Events |
SHOP ONLINEShop our gift shop online for interesting gifts, memberships, and all your carrousel needs!
|
The Carousel Society of the Niagara Frontier is a not-for-profit 501-c-3 organization.


 RSS Feed


