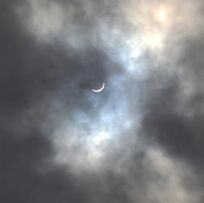
Hello Friends!I hope you enjoyed listening to A Few Beautiful Minutes: Experiencing a Solar Eclipse by Kate Allen Fox with pictures by Khoa Le. I think it is a beautiful book about the eclipse. Did you get to experience the total solar eclipse? It was a cloudy day here at the museum, but we saw a little bit of it!
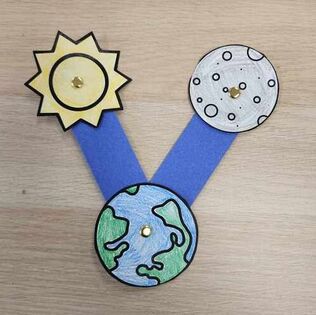
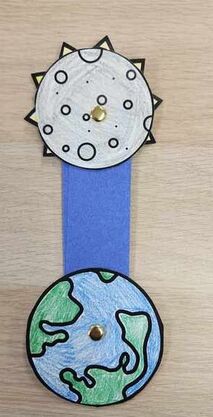
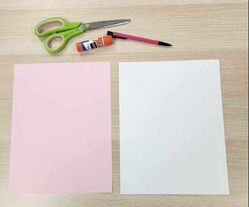
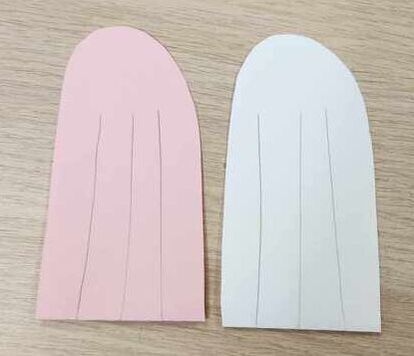
This month's activityThis month's activity helps us learn what happens when a total solar eclipse happens. You will need this printout, crayons or colored pencils, whole puncher, scissors, tape, two strips of construction paper that are the same size, and 4 paper fasteners.
I hope you enjoyed this activity! We will see you next month!
Ms. Marissa Hi Friends!I hope all of you enjoyed our March book Art and Joy: Best Friends Forever by Danielle Krysa. It is a truly wonderful book that tells us to make whatever art that brings us joy and not to listen to any art critics. The activity for this book is to create a piece of art that makes you HAPPY! Here is my artwork:  I created a happy flower scene by using watercolors to create the background, 2 pipe cleaners to make the flower petals, 1 pipe cleaner to make the center of the flower, 2 straws to make the flower stems, and 3 cotton balls to make the clouds. I hope you make an artwork that brings you joy!
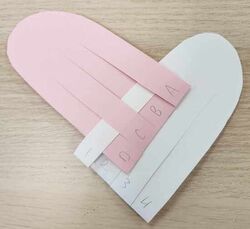
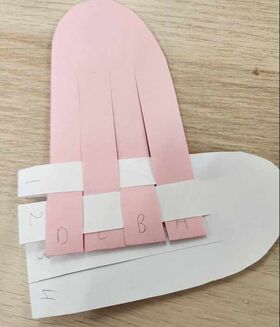
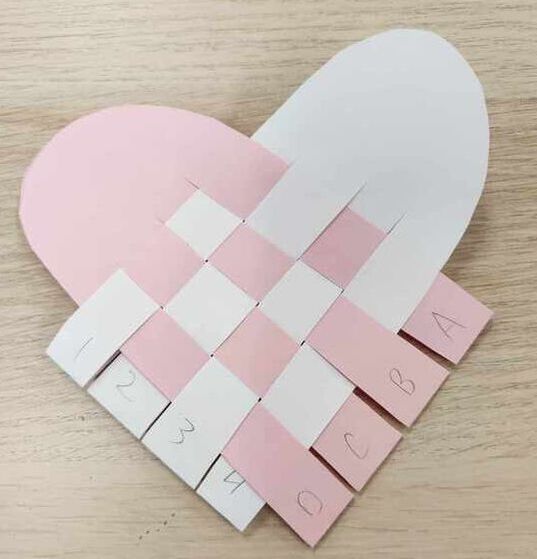
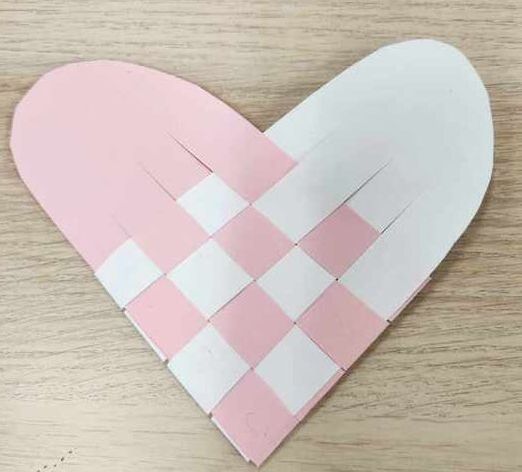
See you next time! Ms. Marissa I hope you enjoyed Lovebird Lou by Tammi Sauer with pictures by Stephanie Laberis! It's one of my new favorite books! I love how Lou's family is very supportive and proud of him. They give him confidence to try new things. This month's activity: Woven Heart BasketThis month we are making a woven heart basket. It is a small basket that is perfect for a couple of Valentines or pieces of chocolate!
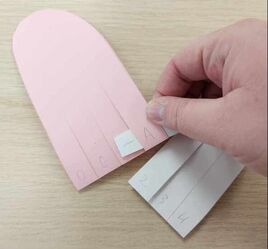
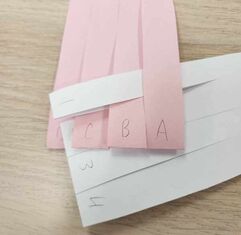
Step 11: Push Strip 1 up until it touches the top of the slits.
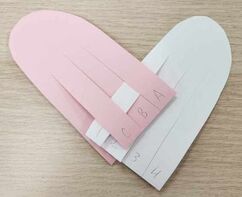
Step 16 (Optional): Cut out a handle from paper or ribbon and glue both ends inside the heart basket.
Hi Friends!Today was our last day of celebrating Fall Children's Book Week. I hope all of you have enjoyed it as much as we have! Thank you so much to Executive Director Mr. Ian for reading The Monster at the End of this Book by Jon Stone and illustrated by Michael Smollin. This is one of Mr. Ian's favorite books and he did such a great job reading it! Today's activity is bookmarks!To wrap up Fall Children's Book Week we have some bookmarks to color! This is what they look like and you can download a printable copy here. 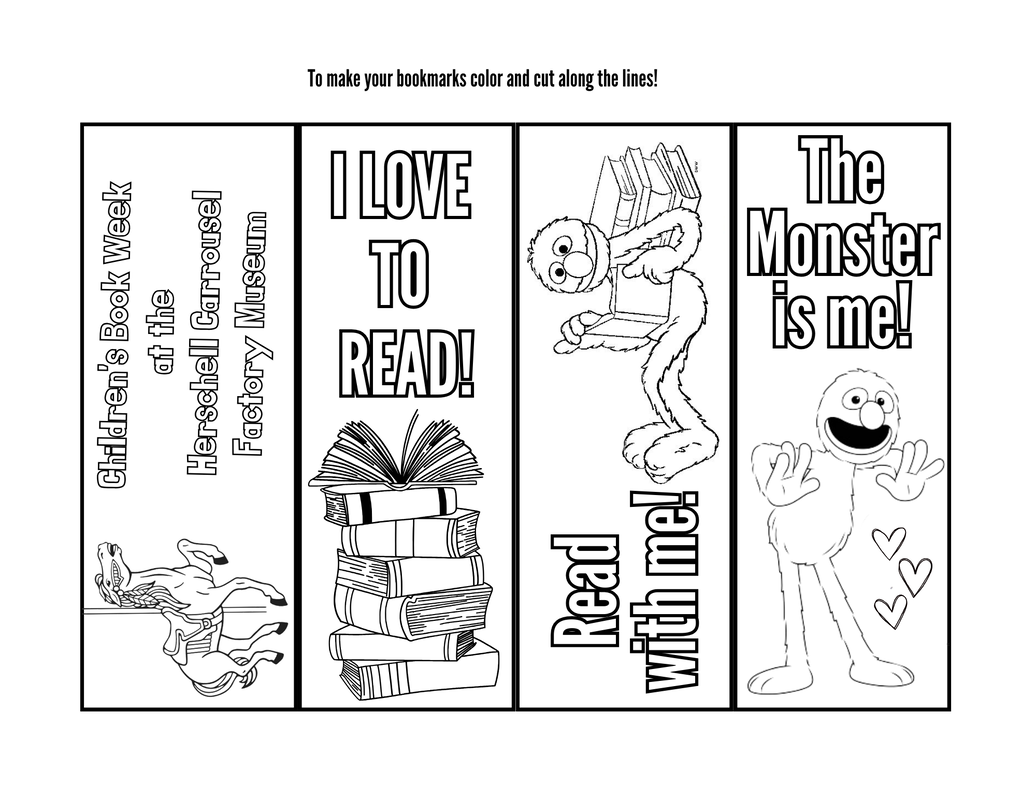 Happy Coloring Everyone! I will see you next month!
Ms. Marissa Hi Friends!I hope you enjoyed Cuddly Dudley by Jez Alborough. Thank you, Ms. Dru for reading it to us! Today's Activity is Waterproof PenguinsDid you know that penguins have an oil-producing gland that help make their feathers waxy? The wax on their feathers repels the cold water and helps keep the penguins dry. The instructions for today's activities are down below or you can download them here: 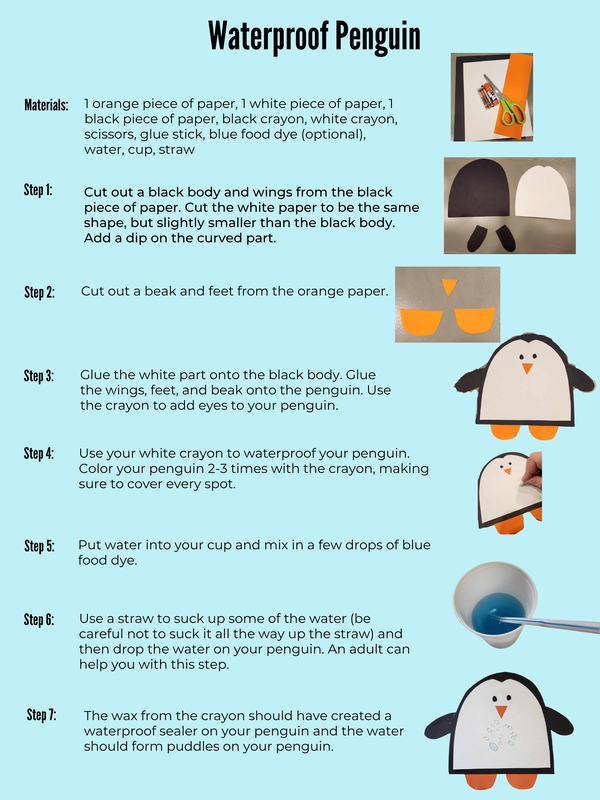 Have fun with your penguin!
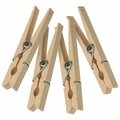
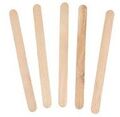
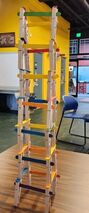
Ms. Marissa Hi Friends!I hope you enjoyed Mechanimals by Christ Tougas. Thank you, Mr. Don for reading to us! It was a perfect book for National STEM Day. Happy National STEM Day, everyone! Today's Activity: Build the Tallest Tower
Are you done? How Tall is it?...Woah that's Tall!
I will see you soon!
|
Carrousel Courier Jr.A publication just for kids! Check back each month for new activities! Archives
April 2024
Categories
All
|


 RSS Feed
|
180 Thompson St.
North Tonawanda, NY 14120 FOLLOW US
|

|
Upcoming Events
|
SHOP ONLINE
Shop our gift shop online for interesting gifts, memberships, and all your carrousel needs!
|


The Carousel Society of the Niagara Frontier is a not-for-profit 501-c-3 organization.