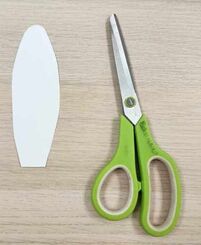
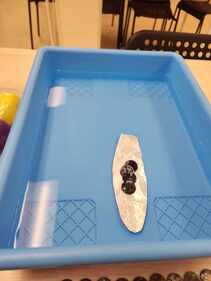
Hi Friends!Did you enjoy Surf's Up by Kwame Alexander with pictures by Daniel Miyares? I thought it was such a fun book! It shows how much fun reading can be! This month's activity is a floating Surfboard STEM Challenge!
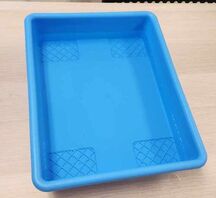
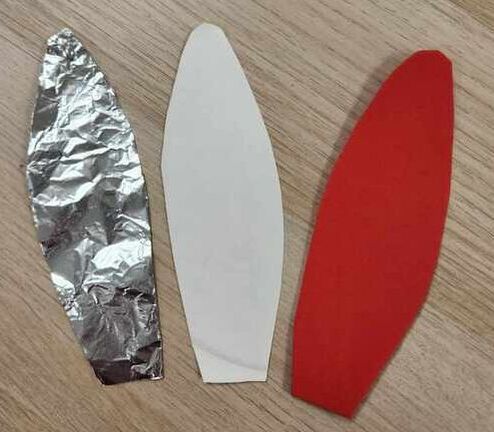
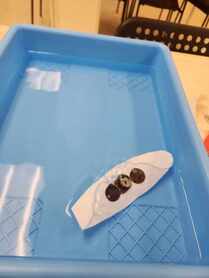
Third I put the surfboards in my tub of water and put pennies on them one by one until they sunk to the bottom. Which material do you think held the most pennies? Results:
Try it at home!Try this fun STEM challenge at home and tell me what materials you used and how many pennies your surfboards held up!
Have fun! Ms. Marissa THIS WEEK WE WILL BE HIGHLIGHTING MOVEMENTS AND MOTIONS USING NEWTON'S LAWS OF MOTION. EACH ACTIVITY WILL GIVE YOU SOME INSIGHT ON WHAT THOSE LAWS STATE AND HOW IT RELATES TO THE MUSEUM. Balloon rocket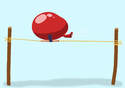 JOIN US AS WE WILL EXPLORE HOW SIZE CAN IMPACT THE SPEED OF AN OBJECT. DISCOVER NEWTON'S SECOND LAW OF MOTION ALL YOU NEED IS YOUR THINKING CAP SEE YOU THERE! Marble maze 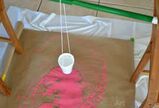 LEARN HOW TO MAKE YOUR OWN CRAZY MAZE USING NEWTON'S FIRST LAW OF MOTION OF BALANCE AND FORCE. CAN YOU WIN YOUR OWN RACE? WE WILL FIND OUT ONCE YOU'RE HERE!
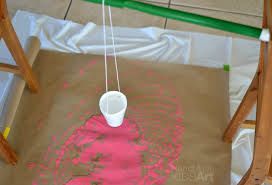
DROP IN AND SEE HOW YOU CAN MAKE COOL ART WITHOUT EVEN USING A PAINT BRUSH. NEWTON'S THIRD LAW IS BEING PUT TO THE TEST AS WE CREATE A MASTERPIECE!
_ Ms. TAJAÉ Happy National Band Organ Day, Friends!To celebrate enjoy this Flying Music Note STEM activity. Print out your music note template here. 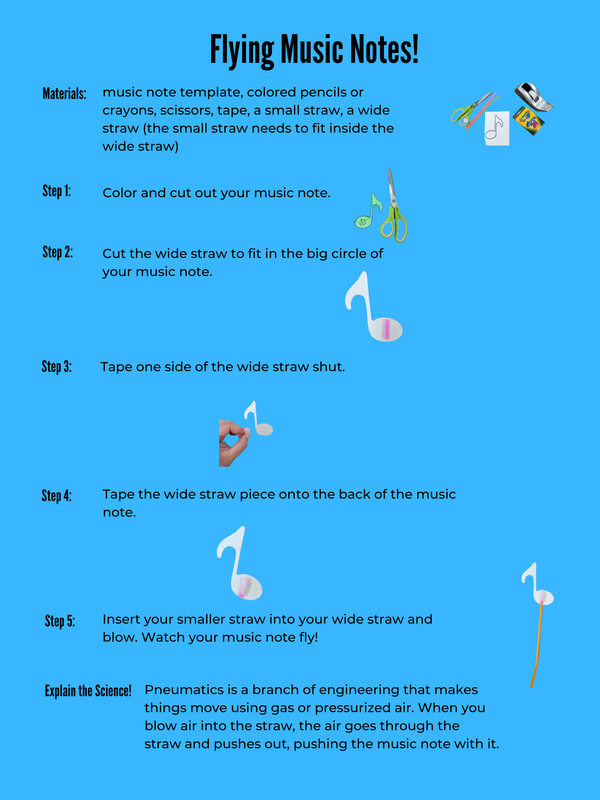 Hi Friends!I hope you enjoyed Worm Weather by Jean Taft with pictures by Matt Hunt! It's so funny that it has been raining at the museum all week, but the day we choose a book about rain it stops! Thank you to Mr. John V for reading to us today! Today's Screen Free Activity is Making a Rain Gauge I hope you have lots of fun making your rain gauge. It will be lots of fun using it this summer and tracking how much rain we get! This concludes our celebration of Spring 2023 Children's Book Week and Screen Free Week! Thank you for listening to all of our stories, participating in our activities, and having fun with us! We have so much fun with you! As always Happy Reading!Hi Friends!Thank you, Ms. Dru for reading Crazy Hair Day by Barney Saltzberg! Did you enjoy the book? Today's Activity is crazy hair styles!We had SO MUCH FUN making crazy hair styles at the museum!
I also helped Ms. Dru put STARS in her hair! 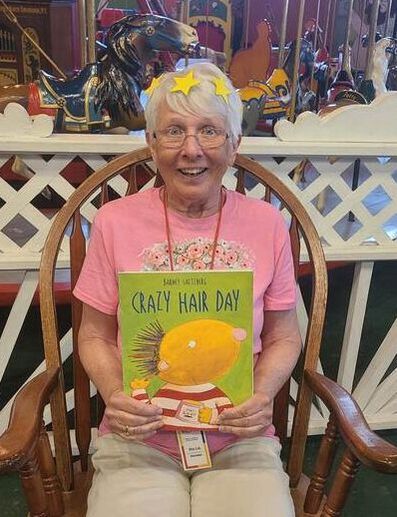 I can't wait to see all of the crazy hair styles you come up with! I will see you tomorrow for the final day of Spring Children's Book Week and National Screen Free Week! Happy Reading!Hi Friends!I Hope you enjoyed Don't Eat Your Teacher! By Nick Ward. Thank you to Mr. Darren for reading to us! Today's Activity is a CHOMPING SHARK!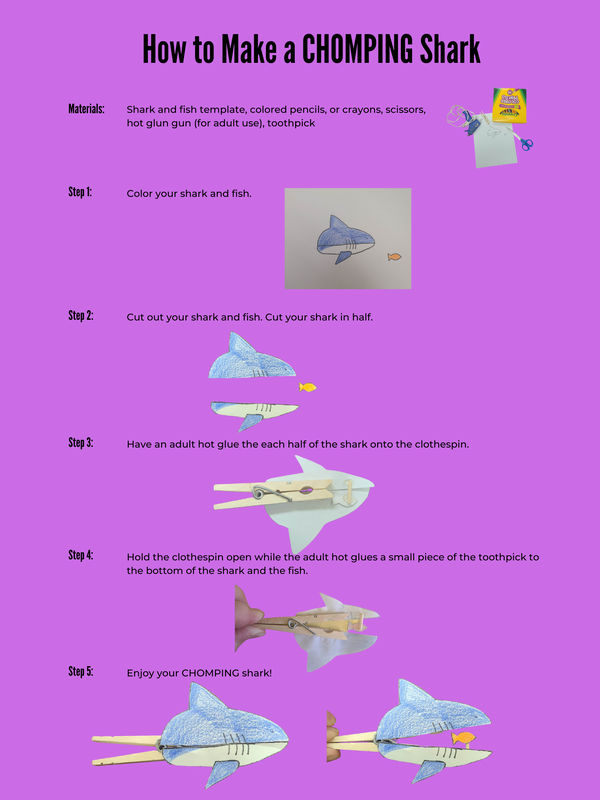 You can download the shark template here. I will see you tomorrow! Happy Reading!
Hi Friends!I hope you enjoyed Eyes that Kiss in the Corners by Joanna Ho with pictures by Dung Ho! It's a great book about finding similarities in our families! Today's Screen Activity is making Oragami Flowers!Don't worry! These origami flowers are easy enough that even Ms. Marissa could make one. I bet you could make one for all of your friends. 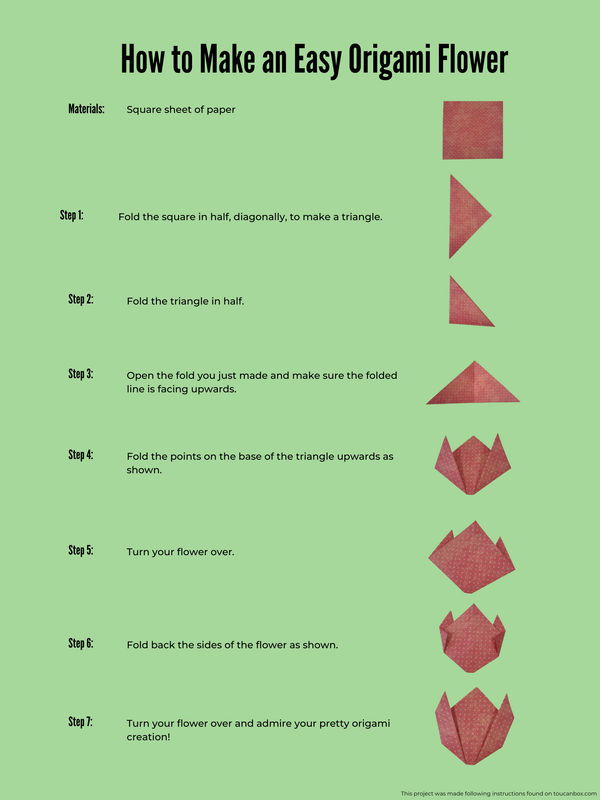 Have a great day and we'll see you tomorrow! Happy Reading!
Hi Friends!Thank you, Mr. John for reading today's book Zero the Hero by Paul Gurgol! Did you like the book? I thought it was great! What a nice book about learning to try our best at everything we do. Today's screen free activity is 4 square! Have fun playing 4 square! We will see you tomorrow!
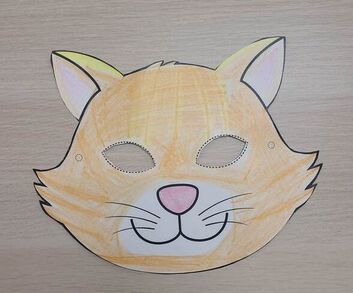
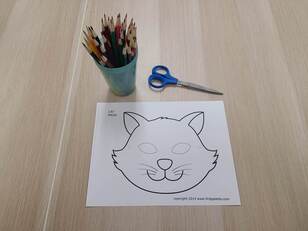
Hi Friends! Happy April!It's been so AWESOME seeing everyone back at the museum. We missed all of you so much! I hope you enjoyed Carousel Cat by Robert J. Blake. A big THANK YOU to our friends that gave us the book to share with all of you! This Month's Activity: Cat Masks!For this month's activity we are going to be coloring cat masks! You can print out the template here.
 Steps
3. Punch out the holes on either side of the mask. 4. Ask an adult for help tying the string through the holes to make it into a mask. 5. Enjoy your mask! I hope you enjoy your cat mask!
Hi Friends!I hope you enjoyed Horton Hears a Who! by Dr. Seuss! Horton is such a great example of a good friend! This Month's Activity is bookmarks! You can download the bookmarks here or by clicking on the picture below. Print out the sheet, coloring in the bookmarks, cut along the lines, and enjoy your new bookmarks! 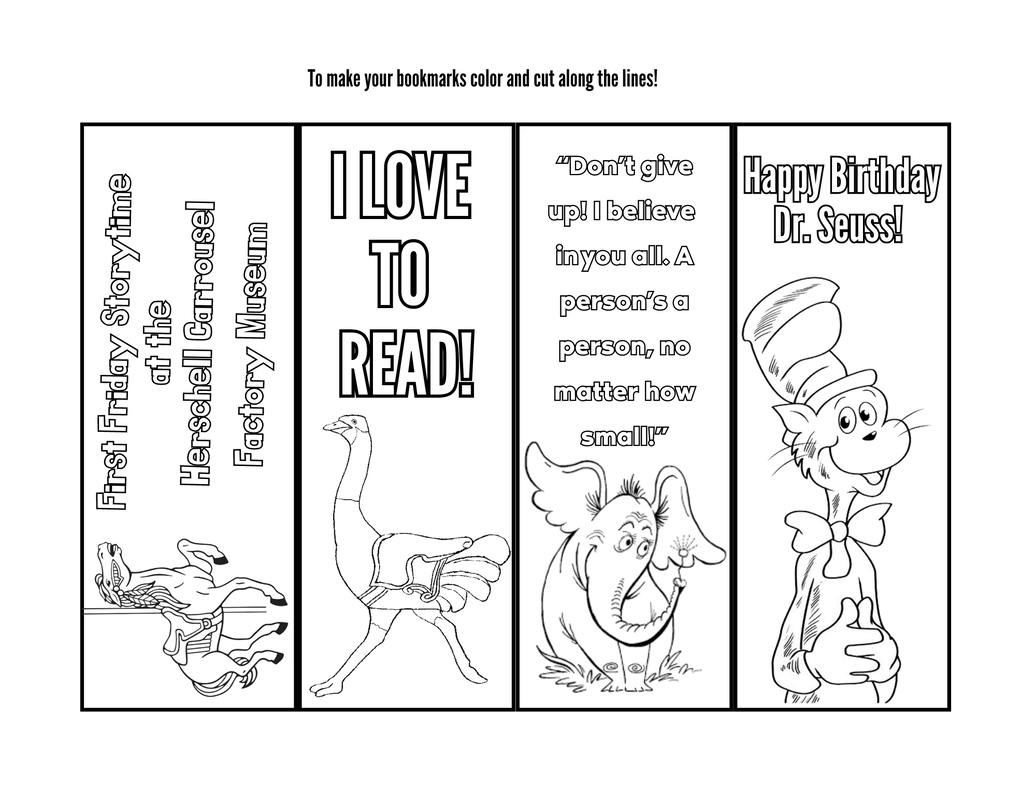 Happy March Friends!
|
Carrousel Courier Jr.A publication just for kids! Check back each month for new activities! Archives
April 2024
Categories
All
|


 RSS Feed
|
180 Thompson St.
North Tonawanda, NY 14120 FOLLOW US
|

|
Upcoming Events
|
SHOP ONLINE
Shop our gift shop online for interesting gifts, memberships, and all your carrousel needs!
|


The Carousel Society of the Niagara Frontier is a not-for-profit 501-c-3 organization.